
Appointment Types and their time intervals are seen and selected by patients when they are scheduling an appointment with your provider. There may be times when you need to add an additional appointment type for a provider. You can accomplish this in the InQuicker Console. NOTE: If the appointment type you wish to add is not listed in the Console, it has not been enabled for your health system. Please contact your InQuicker representative for further investigation.
How to Add a New Appointment Type to a Schedule:
- Once logged into the Console, on the left side, click on Configuration/Schedule Management.
- Locate and click the appropriate Facility link on the Schedule Management screen.
- Click the Provider’s name link next to the schedule name.
- On the Schedule screen, click the Appointment Types button.
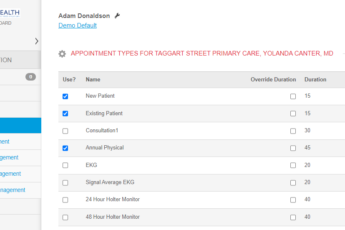
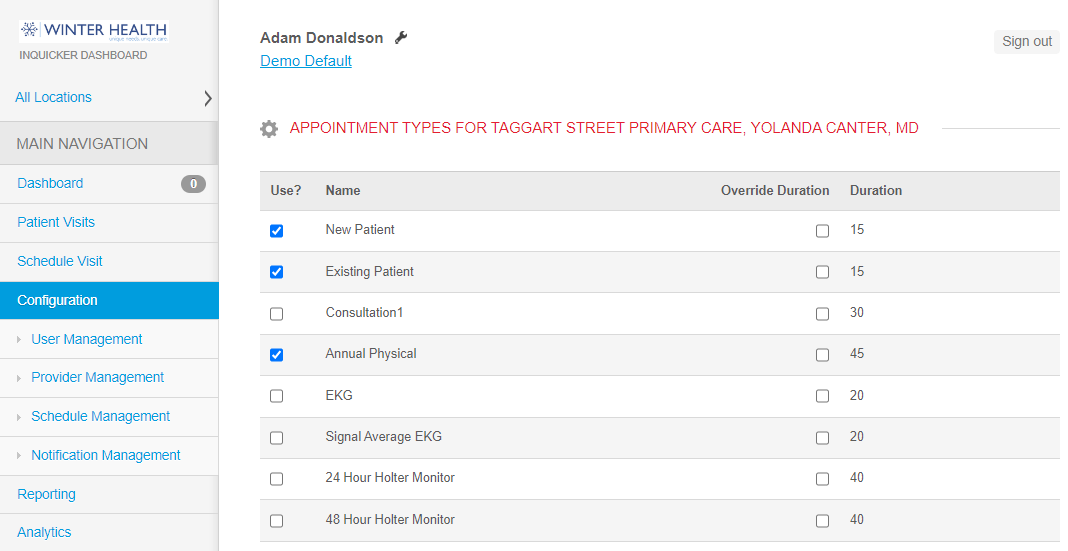
- The Appointment Types for this facility, location and schedule screen will display. This table contains the list of all available appointment types for your health system. To add an appointment type for this provider schedule, select the Use? check box. The default duration for each appointment type (as set by your health system) will display in the Duration column. To override the duration, select the Override Duration checkbox and enter the desired number of minutes in the Duration column. Click Update to save your changes.
- You will receive confirmation in the blue banner that the schedule’s appointment types were updated.